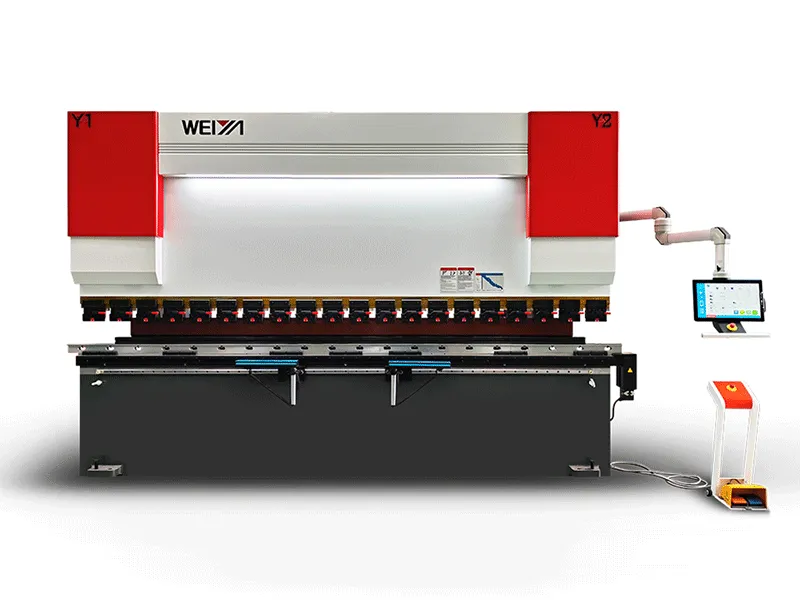
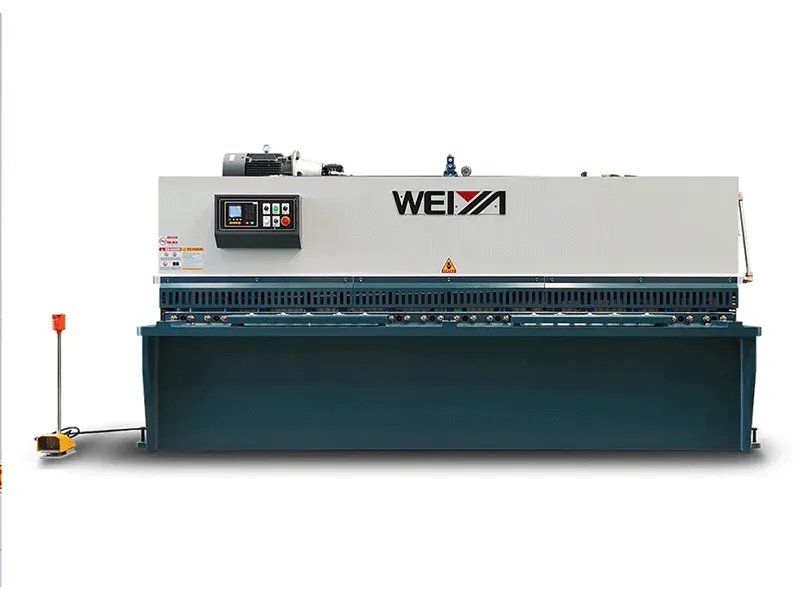
CNC machine tools, as high-precision and high-efficiency automated processing equipment, require correct operation, which directly affects not only processing accuracy and production efficiency but also equipment lifespan and operational safety. The following details the correct operating procedures and precautions in three stages: before, during, and after operation.
CNC machine tools, as high-precision and high-efficiency automated processing equipment, require correct operation, which directly affects not only processing accuracy and production efficiency but also equipment lifespan and operational safety. The following details the correct operating procedures and precautions in three stages: before, during, and after operation.
Preparation before operation is fundamental to ensuring the safe operation of CNC machine tools and must be strictly followed according to the following steps:
1. Equipment and Environment Inspection
Check that the machine tool's appearance is intact, and that protective covers, emergency stop buttons, and control panels are undamaged and securely fastened. Ensure the emergency stop button is in a normal, operable state;
Confirm that the surrounding environment is clean and free of obstacles such as tools and cables. Ensure good ventilation and lighting conditions, and maintain a normal temperature to avoid high or low temperatures affecting equipment accuracy;
Check the hydraulic system, lubrication system, and cooling system to ensure they meet the equipment manual requirements and are free from deterioration or leaks; also check that the air pressure system pressure is within the specified range.
2. Personal Protective Equipment and Tool Preparation
Operators must wear appropriate personal protective equipment: wear close-fitting work clothes, non-slip safety shoes, and safety glasses. Gloves and scarves are strictly prohibited. Long hair must be tucked into a work cap to prevent entanglement with rotating parts;
Prepare the necessary tools for processing and check that the cutting edges of the tools are intact and that the fixture accuracy meets the standards. Measuring instruments must be calibrated in advance.
3. Program and Parameter Confirmation
If using a pre-written processing program, import the program via a USB drive or the machine tool's local area network, and check the program code line by line to avoid tool collision due to program errors;
Confirm that the machine coordinate system and workpiece coordinate system parameters are set correctly, paying particular attention to whether the workpiece zero point offset value matches the actual clamping position. The accuracy of the coordinates can be initially verified using the "handwheel movement" method.
Machine startup, debugging, and the machining process are core steps, requiring strict adherence to the principle of "debug first, then machine" to ensure accurate operation at every step:
1. Machine Startup and Homing Operation
Turn on the main power and control cabinet power of the machine tool. After the system self-check is complete, enter the operating interface;
Perform the "machine homing" operation: Select the homing mode, and move the X, Y, and Z axes separately to return each axis to the mechanical origin, ensuring that the machine coordinate system is accurately established; if an "overtravel alarm" occurs during the homing process, press the "overtravel release" button, manually move the axis in the reverse direction, and then perform homing again.
2. Workpiece Clamping and Tool Setting
Fix the workpiece on the fixture, ensuring that the clamping is secure and that the workpiece position does not exceed the machine's travel range.
Perform the "tool setting operation":
Manually move the spindle to bring the tool close to the workpiece reference surface;
Use tools such as an edge finder, dial indicator, or tool setter to accurately measure the distance between the tool and the workpiece reference surface;
Enter the measured value into the corresponding workpiece coordinate system parameters. After inputting, manually verify again: move the coordinate axis to the set workpiece zero point and check whether the distance between the tool and the reference surface is consistent with the input value.
3. Program Debugging and Trial Cutting
During the debugging phase, select "single-block operation," "reduced rapid traverse rate," and "reduced feed rate" modes to avoid collisions during rapid movement;
Perform "dry run": Raise the Z-axis to a safe height, start the program, and observe whether the movement trajectory of each axis is consistent with expectations. If an abnormal trajectory is found, immediately press the "feed hold" or "emergency stop" button, modify the program, and then debug again;
Trial cutting: After a successful dry run, reduce the spindle speed and feed rate, perform a small amount of trial cutting, stop the machine after trial cutting, measure the workpiece dimensions, and adjust the tool compensation value according to the measurement results until the dimensions meet the requirements.
4. Formal Processing and Process Monitoring
During formal processing, gradually adjust the spindle speed and feed rate to the program settings, while closely monitoring the machine tool's operating status:
Listen: Check if the spindle rotation sound is stable and if the coolant spray is normal;
Observe: Check the cutting status of the tool, the surface quality of the workpiece, and whether there are any alarm prompts;
Check: Regularly stop the machine to measure the workpiece dimensions to avoid dimensional deviations caused by tool wear.
If an emergency occurs during processing, immediately press the "emergency stop" button, cut off the power, check for equipment damage, and restart after troubleshooting.
Maintenance after processing is crucial to ensuring the long-term stable operation of CNC machine tools. The following tasks should be performed:
1. Shutdown Procedure
After processing, first stop the spindle rotation, turn off the coolant pump, and move each axis to the "middle position" to avoid prolonged stays at the limit positions, which can affect the lifespan of the guide rails.
Turn off the system power, control cabinet power, and main power in sequence. After the equipment is completely powered off, clean the control panel and the machine tool surface.
2. Equipment Cleaning and Lubrication
Clean chips and oil stains from the machine tool workbench, guide rails, and fixtures. Use compressed air to blow away chips, then wipe the guide rails with a cloth and apply guide rail lubricating oil (select the oil according to the equipment manual).
Clean the tools and fixtures. Return the tools to the tool magazine or tool holder. If the fixtures are not to be used for a long time after cleaning, apply anti-rust oil.
3. Recording and Handover
Fill out the equipment operation log, recording the number of workpieces processed, equipment operating status, and maintenance status, for subsequent tracking and maintenance.
Hand over the equipment to the next shift operator, informing them of the current status and precautions to ensure continuous and stable operation of the equipment.


